
1. Draw Your File
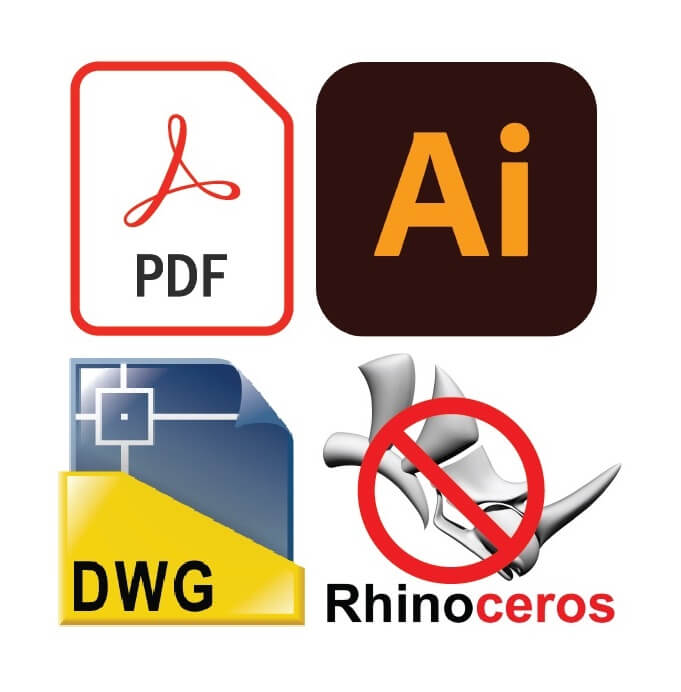
Commonly used file types
LASER CUTTING ARTWORK SETUP
Acceptable File Formats
In order to quote your job we need a 2D vector file of what you would like to have cut. Templates for popular drawing programs can be downloaded by clicking the button below.
If you don’t have access to CAD software such as adobe illustrator or autocad you can download an open source program such as inkscape and import our template.
If you are drawing in 3D programs such as rhino you will need to export your drawings as a 2D vector file such as dwg. or dxf. We do not accept .3dm files.
We recommend saving a PDF of your drawing and sending it as well so that we can check for errors.
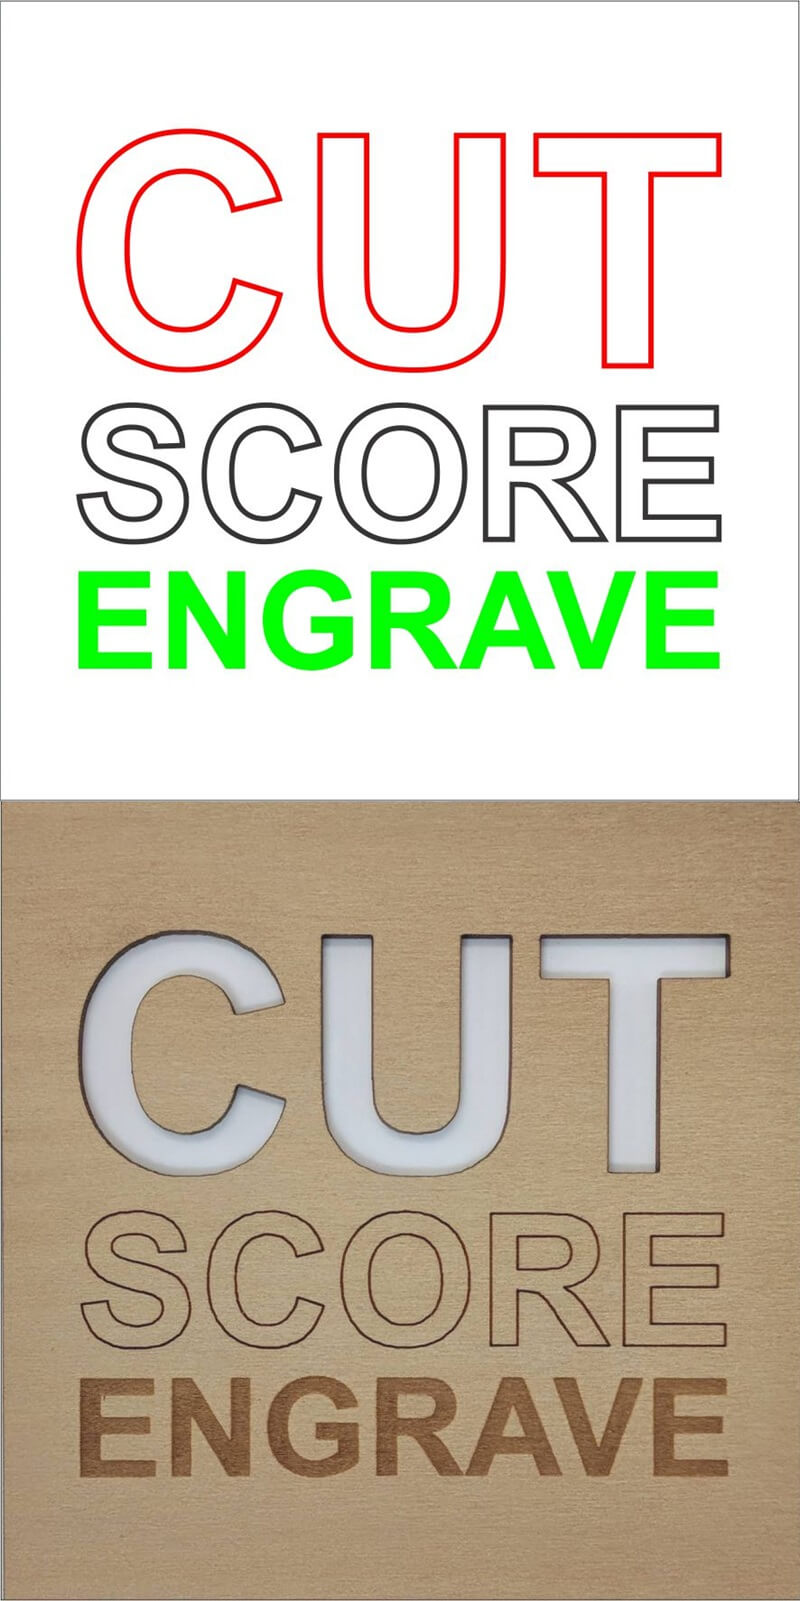
different lines & colours have different functions
Linework and Colour
Thickness – all lines should be given the minimum setting for your program. (hairline, 0.001mm, 1pt etc).
Cut Lines – any line that you wish to cut all the way through the material should be red.
Score Lines - lines that you want to simply score onto the surface of your material should be black.
Block Fill – areas to be engraved as a block fill into the surface of your material should be given a green fill.
Note: bitmaps / raster images should be black & white or greyscale
Text - should be a black outline if it is to be scored, green fill if it is to be engraved/raster filled.
Fonts - make sure to convert your text to objects (Illustrator) or polylines (Autocad) to preserve your font.
General Layout – Draw your elements for laser cutting at full scale and locate them within the rectangles on the template drawing so that our editing and layout time is minimised and your use of sheet material is maximised.
Spacing Between Objects – please allow at least a 3mm gap between each object to make sure they cut cleanly.
File Setout – Use and label a separate rectangle for each sheet to be cut, each material type and/or differing thickness of material.
For duplicates of a sheet, send one drawing only and label the quantities required with blue text.
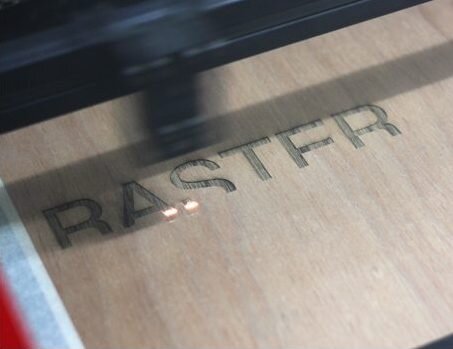
A RASTER Image AKA BITMAP CAN BE ENGRAVED
Raster Engraving
Green Fill – if you want the laser to engrave continuous fill (known as rastering) then you should use a green fill on your drawing.
Images – images / bitmaps can be easily engraved. They should be greyscale or black & white.
Objects – polylines will need to be continuous to form objects which can be filled. A separate black outline is not usually required.
Layout – the laser engraves left to right, from the top to the bottom. So it's faster & cheaper for you to layout any raster images horizontally within the template.
Find examples of laser engraving here.